I use crepe paper pin wheels in a number of different crafts. I have quite a few ideas brewing that I hope to incorporate them into and share with you in the month of February. So let's begin, shall we? :)
note: The crepe paper used in this tutorial is from the dollar store.
Materials:
crepe paper (no need to cut a length from the roll, you can just start from the end and cut later)
needle and thread
glitter (optional)
glue (optional)
Thread your needle with about 24 inches of thread and tie in a secure knot. Weave your thread in and out along the bottom of the crepe paper:
Gather crepe paper onto thread:
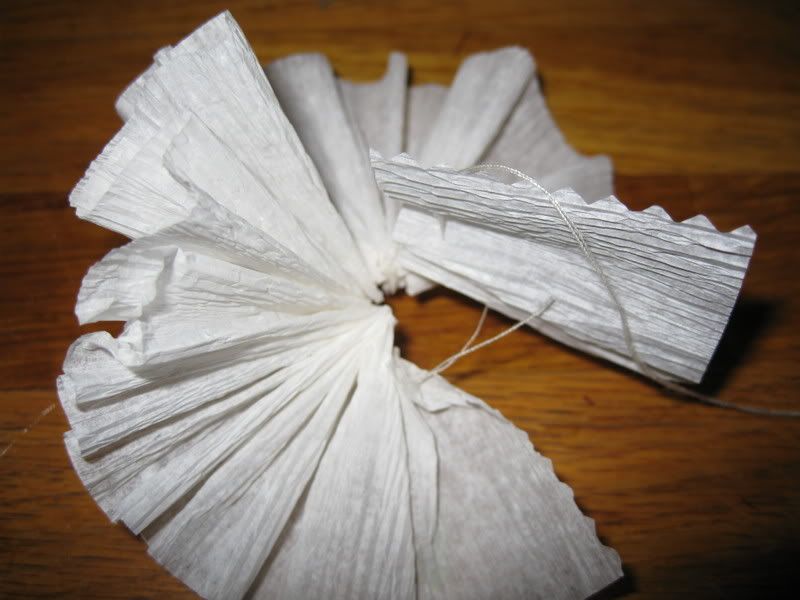
Continue until you have enough gathered to make a circle:
Cut the crepe paper just beyond the last stitch:
Your piece should look like this:
Secure the two ends together with a few stitches in the middle:
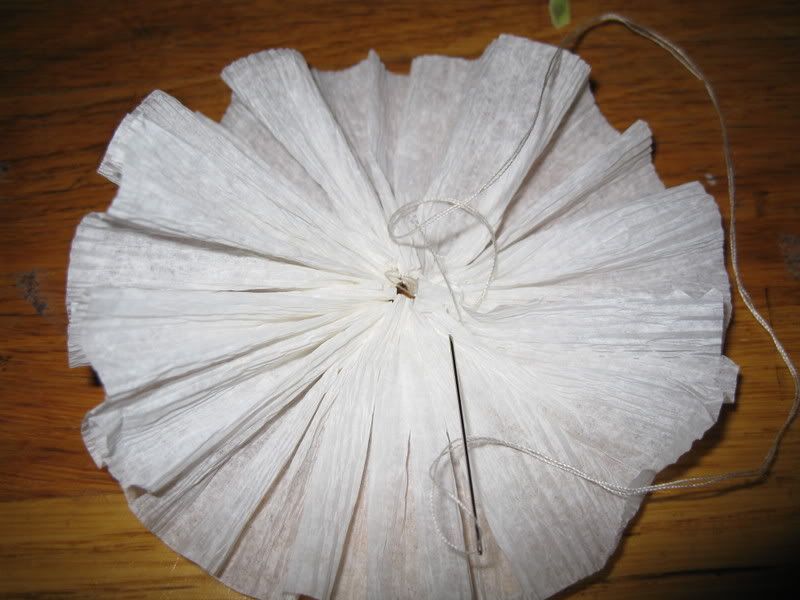
At this point you can add a dab of glue to secure but it should stay just as it is. Knot the thread and cut. Want to add glitter?
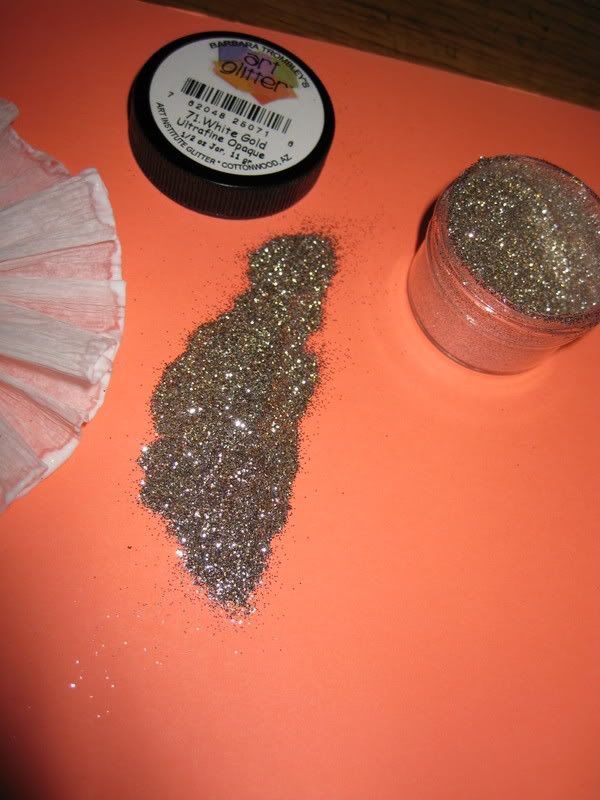
Prepare by making a row of glitter on a piece of scrap paper. Put glue on the edges of your pin wheel with a paint brush:
Dip your glued edge in the glitter a few times to coat:
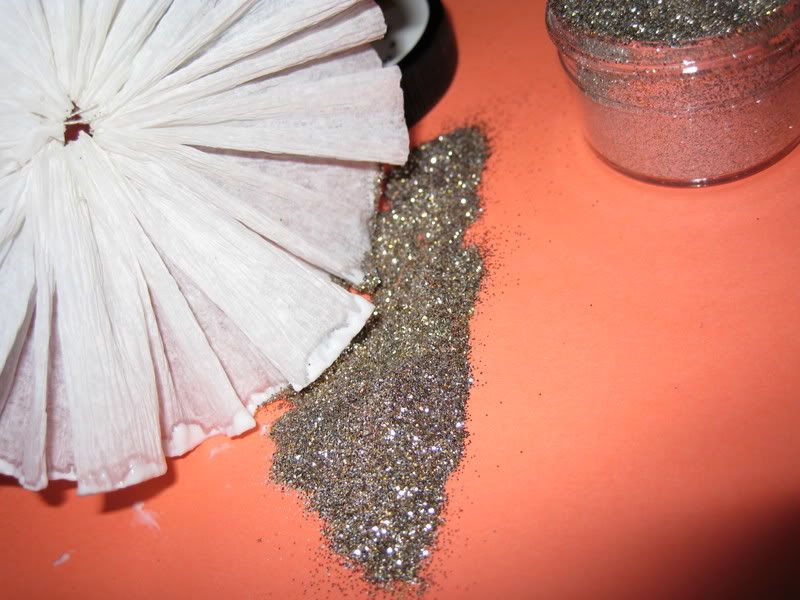
Shake off excess and let dry. Viola!:
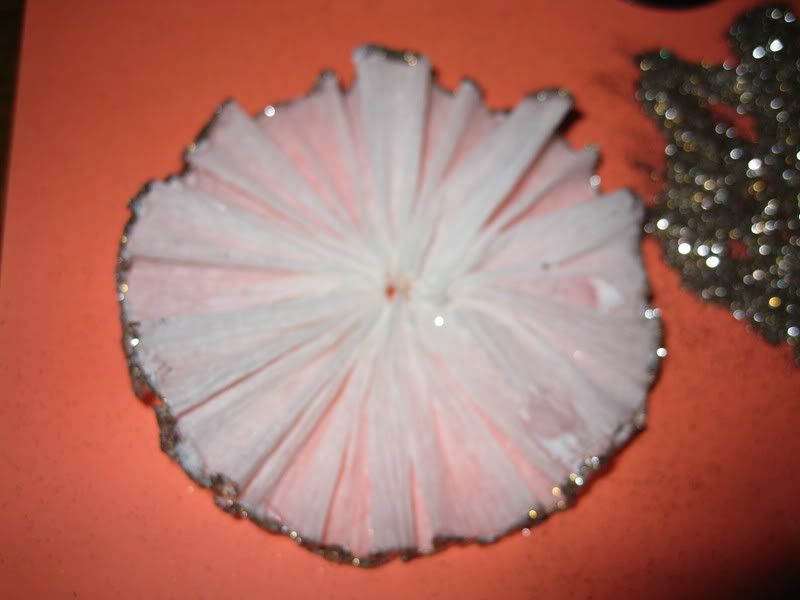
I used this one here:
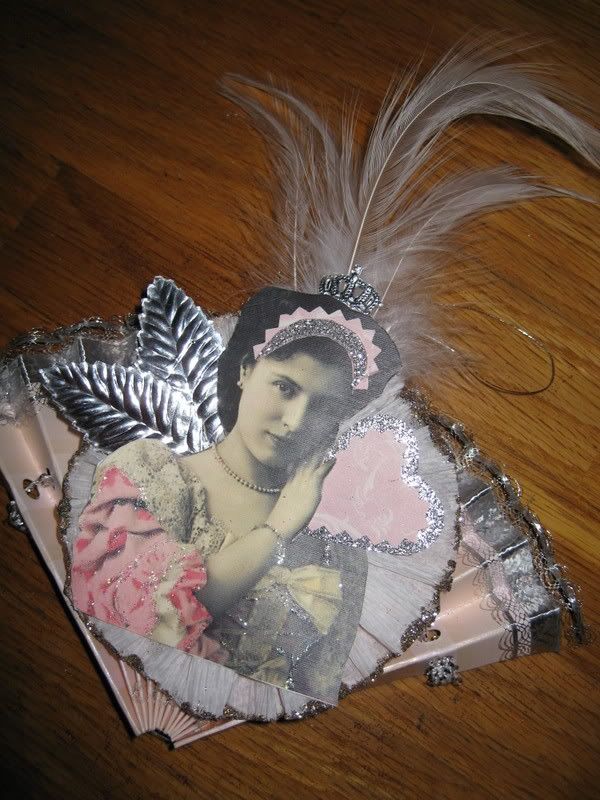
I love the way this came out! The fan is a Christmas ornament originally from Pier One. I found three in a bag at the thrift store for 99 cents. I've already started a second ornament:

I just need to make another crepe paper pin wheel and add some feathers. :)
Please let me know how you enjoyed my first tutorial and it's clear and easy to understand.
Cheers!
Rebecca
23 comments:
Just dropped in from Jan's and by lucky accident found your tutorial. I think you did a wonderful job with it not only in words, but also with the pictures. Now, I'll spend a little time looking around at your beautiful blog.
Your ladies are lovely!
You can also do this with your sewing machine. Set your stitch length to as long as your machine will go (I think mine goes to a 7), sew along the edge, pull the top thread to gather it. Voila, ruffling the lazy man way. :-)
O.M.G. That is so simple. You have no idea how I have struggled with glue and paper clips and what all to make them.
Very clear Rebecca! They look like a lot of fun -- love that glitter. Thanks for the tutorial.
Thank you!
Very clear...
I can do this!
Priscilla
Great tutorial!! I was thinking you folded them then glued...LOL....hanging my head shamefully in ignorance!
Very nice tutorial. Will have to try!
Nice tutorial. Think I might make some with DS to add to his Valentines.
BTW- Carol Duval came out with a paper crafting book in 2007. I "previewed" it yesterday after work. Well worth a trip to the Border's coffee shop with a notebook and pencil!
I'm with Lucy. I always thought it was about folding. I'm so excited to try this. Thank you!
LA
Great tutorial Rebecca! Very clear and easy to follow - and way too cute!!! Thanks!!
I was about to google this! You are great! I would have thought of folding and glue too. Needle and thread are not in my vocabulary. But, I can do this! Thanks!
HOLY GLUE! Even I, the sewing-shy maniac, can handle THIS one! Great & VERY understandable tutorial! MORE, MORE, MORE! PLEASE! Guess who's buying crepe paper this weekend? Yes, indeed! THANKS!
excellent instructions - I am making some for a valentine swap . I love beautiful but simple crfats. Thanks, wizardess.
So pretty ! Love it. great tute!
yippee! this is so much better than the directions on country living, they tell you to fold it! I now must go get crepe paper tomorrow!!!! Great tutorial!
Thanks for a great tutoial. I've been trying to figure out in my brain how to make those, and you've just made it super easy! Looking forward to more tutorials in the future for all the nifty things you make! :)
How easy is that? Thanks for the tutorial.
What a lovely job you do! It looks so easy and turns out looking amazing.
Oh! Isn't that fabulous!!! Love it!
What a FAB tute!
Im so excited and off to make one!!!!!
Michelle
xx
So thats how you do it! I thank you for that!
Thank you for posting this tutorial! I am making a christmas banner and now, I can add this.
Love your blog ~ I have it in my favorites ~
Post a Comment