Simple Crocheted Beret
**This is a great stash buster project! You will need to modify the pattern slightly to fit the yarn and needle size that you choose. DON'T WORRY, it's easy to do and I'll help you along. Remember that you want your crocheted "fabric" to be tight and thick to keep your head cozy and warm!**
For basic crochet instructions go HERE.
For more information on increasing stitches go HERE. The hats are made by increasing a flat circle and then crocheting in a spiral.
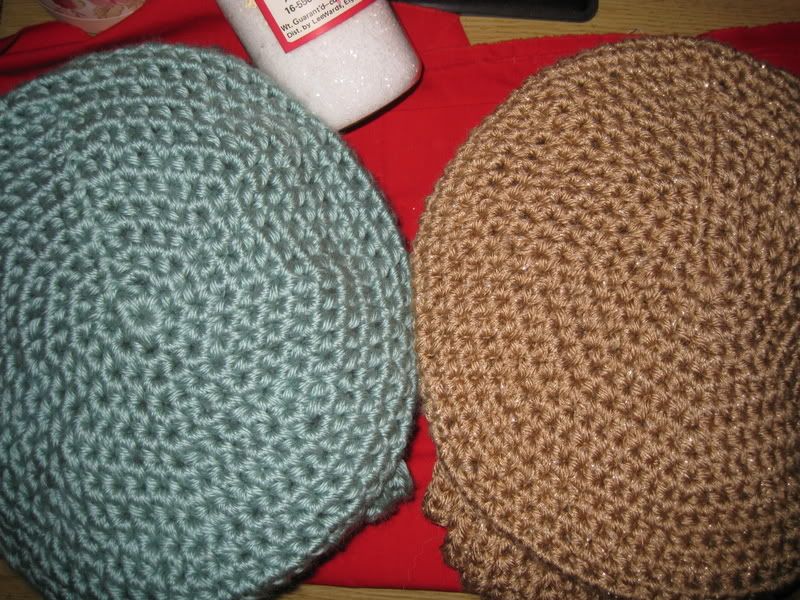
For blue beret I used two strands of Bernat Satin held together and a size H hook. You could substitute any two worsted weight yarns for this pattern. Perhaps two strands of Lion Brand Homespun for a nubbly beret? Or two strands of soft wool for extra warmth. By doubling up the yarn you get a nice heavy warm hat. You could certainly use one strand of bulky yarn or even one strand of a lighter yarn though your hat will be more floppy and you'll need extra increase rows to get it to size. :)
For the brown and gold beret I used one strand of Bernat Satin and one strand of Paton's Brilliant. If you use a second yarn that is say, sport weight, you will need to add increase rounds to make the crown of your hat large enough.
Supplies:
2 skeins Bernat Satin or other worsted weight yarn
Size H crochet hook
1 stitch marker (the kind that can open and close, a safety pin will also work)
Abreviations:
ch - chain
sc - single crochet
hdc - half double crochet (go HERE for instructions.)
With both strands held together:
Ch 4, slip stitch in first ch to make a ring, ch 1
8 hdc in ring, slip stitch in first hdc, ch 1
2 hdc in each hdc around (16 hdc), slip stitch in first hdc, ch 1
(1 hdc in first hdc, 2 hdc in next hdc) repeat until end (24 hdc), slip stitch in first hdc, ch 1
(1 hdc in next 2 hdc, 2 in next hdc) repeat until end (32 hdc), slip stitch in first hdc, ch 1
(1 hdc in next 3 hdc, 2 in next hdc) repeat until end (40 hdc), slip stitch in first hdc, ch 1
(1 hdc in next 4 hdc, 2 in next hdc) repeat until end (48 hdc), slip stitch in first hdc, ch 1
(1 hdc in next 5 hdc, 2 in next hdc) repeat until end (56 hdc), slip stitch in first hdc, ch 1
(1 hdc in next 6 hdc, 2 in next hdc) repeat until end (64 hdc), slip stitch in first hdc, DO NOT CHAIN ONE IF THIS IS YOUR LAST ROUND!
**at this point you want to put your flat circle on the crown of your head and pull it towards your ears. It should come about an inch from the top of your ears. If it's a little closer to your ears, that's okay! Your hat will be more roomy. But if it's farther from the tops of your ears you want to add more increase rounds so it will be large enough. You would continue to increase by 8. Just look at the last line of the pattern above and add one to the "hdc in next x amount hdc" each additional row. Make sense? If not, leave me a comment!**
PLACE STITCH MARKER IN LAST HDC YOU MADE
**Now you will start doing spiral rounds with no slip stitches or chains at the end. This creates the body of your hat!**
1 hdc in each hdc around including the one with the stitch marker. Replace marker in last stitch each round to keep your place.
**continue stitching around until body of hat measures about 2 1/2 inches (you can alter this as well to make a larger, deeper hat). You'll notice now that your piece is bowl shaped. You can try it on occasionally to see if it's deep enough to go over your ears.**
DECREASE ROWS
BASIC HDC DECREASE INSTRUCTIONS (how to hdc next two hdcs together):
"Work a hdc in the next stitch without completing the very last step (keep all three loops on hook) , then hdc in the next stitch without completing the last step. You should have 5 loops on the hook then yarn over and draw through all the loops. Decrease made." borrowed from this site.
If you have followed this pattern exactly then your first decrease row will be as follows:
(1 hdc in next 6 hdc, hdc next two hdcs together) repeat until end (56 hdc) and replace marker
**if you added rows you would put your number in the row above, for example, if your last row for the crown (flat circle) was: (1 hdc in next 8 hdc, 2 in next hdc) repeat until end (80 hdc), slip stitch in first hdc, ch 1 then your first decrease row would be: (1 hdc in next 8 hdc, hdc next two hdcs together) repeat until end (72 hdc) and replace marker and so on.**
(1 hdc in next 5 hdc, hdc next two hdcs together) repeat until end (48 hdc) and replace marker
**at this point, when you have 48 hdc, you want to try your hat on again. It should be tighter to your ears. If not, do another decrease row in pattern.**
1 hdc in each stitch around until end (48 hdc) and replace marker
**you will now switch to single crochet to make the band**
1 sc in each stitch around until end (48 sc) and replace marker
Repeat last row 4 times and finish off and weave in ends. Voila!
Want to make a . . .
MATCHING SCARF
This scarf pattern is fun and easy. I made matching scarves for both the blue and the brown berets. For the blue one I used two strands of Bernat Satin held together and for the brown one I used two strands of Bernat Satin and one strand of Paton's Brilliant held together.
For two worsted weight strand scarves try a size I or J needle. Go bigger for a scarf made with three strands. To test it, make about 10 chains, turn and make HDCs in each chain and then repeat to get a feel for the weight of your scarf.
Now the fun part:
Chain as many as you want. I would say to about somewhere between 180 and 200 chains. Then put your chain around your neck as if it were a scarf (don't forget to wrap it!) to determine your final length. My scarves reach the middle of the torso with one wrap around the neck.
Once you have your base chain:
TURN and HDC in the second chain from hook and in all remaining chains, Chain 1 at end of row and turn
Next row:
HDC in the BACK LOOPS ONLY of each stitch. Instructions here. **this is what gives your scarf a ribbed look and makes it extra soft and pliable**
Continue until scarf is desired width. You can go skinny or extra wide. My scarves are about 6 inches wide.
This pattern would be good for men's scarves, too. Choose some manly colors and make it striped or just make it black. They like boring.
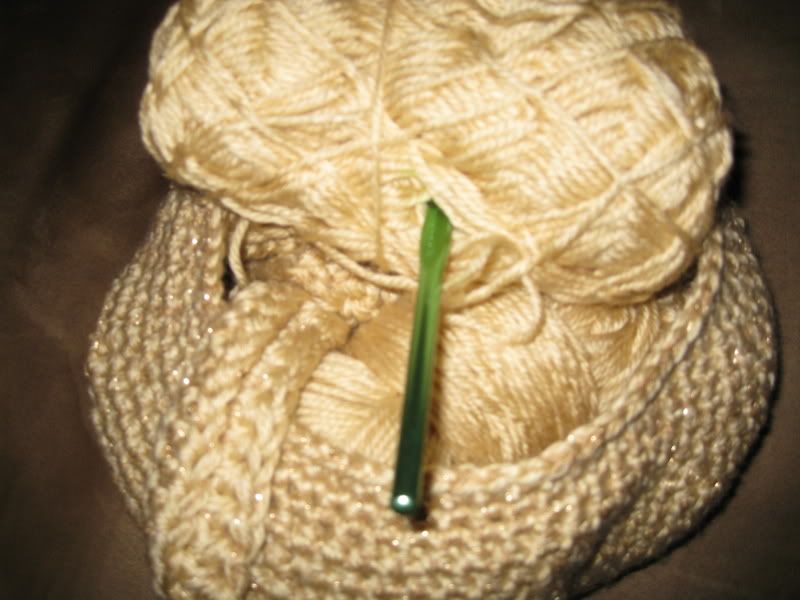
Easy right? I already started a third set in another color of Bernat Satin and that gold Paton's Brilliant:
If anyone makes a hat or scarf from my patterns, please let me know! I'd like to know if you think there should be changes or if there are mistakes. I made each piece a few times to make sure I got the pattern right but you never know!
And one the needles now . . .

Husband Hats! These are knit and quite wooly. I have a few more to make for the other husbands in our family. :)
So a lot of hat making going on here, huh? It will be nice to have some hand made gifts. Now if only I could sew some things! Anyone have any suggestions for some easy sewing gift projects for me? Think small and not too difficult. LOL
Coming soon . . . updates to te Goodness Shop! I'll have vintage seam binding, trim, game cards and lots of aprons! Oh and some photos of my fantastic flea market finds of the last few weekends. Fall is certainly the time to go treasure hunting!
Happy Fall,
Rebecca
7 comments:
So wierd. THe comment box on some of the blogger blogs has changed. But yours seems the same as always? (Mine is definitely different, and I think not so easy to use!)
Love the hats.. thanks for the pattern too.
Will be great gifts for those hard to buy for people.
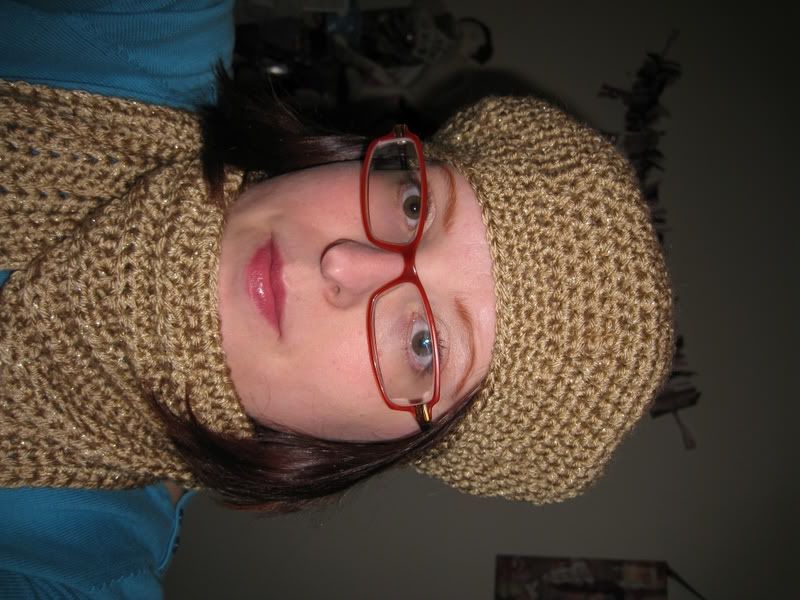
O.K. so now I HAVE to learn how to crochet! Love the hat and scarf, and super cute pic of you!
Aaaaahh! This is a great hat! Crocheting with 2 strands?? I've recently begun crocheting my very first hat. I've ripped it out 4 times. And I'm only using one strand. I keep telling myself, I WILL DO THIS. Your skills impress me. You've been a busy gal!
Whoo - hoo, I know what I'll be doing tonight. Thanks. One problem - to keep or not to keep? That is the question.
Love, LOVE the beret! Can you come to Idaho and teach me to crochet??
I'm going to give this a whirl... thanks for posting the instructions!
Lovely!
Post a Comment